
Becoming an AI-ready Designer: Content & Image Generation (Part 1)
How to generate text, photography and illustration content using AI

Hey everyone, Filippos here 👋. I originally started writing this as one post but it became so big that I decided to split into multiple parts. I had an incredible time writing this piece and hopefully it will be as insightful to you as it has been for me. Enjoy!
Prologue
AI is and will be one of the biggest revolutions in the world of technology. We are going through a big change, and change is often scary and exciting at the same time.
So I thought about writing a post on exactly that: How can you become AI-ready in a world where everything changes daily.
The reason why I’m emphasizing “AI-ready” is because the tools that we use today will be very different than the ones we will be using one year from now. Similarly, one year from now will look drastically different than five years from now.
So what can you do today that will make you ready for this change?
I’ve structured this series of posts around the areas and methodologies that I have tested for my day-to-day work.
This post is split into 5 parts:
1: Content & Image Generation (this post)
It’s important to note that even though I’m recommending specific tools in each of these parts, I’m focusing more on learning to use one of the following methods through prompting:
Generating
Summarising
Editing & Remixing
Building
Let’s dive into it.
Content creation
(Method: Generating)
Content creation was the first big shift in the industry with the public launch of ChatGPT. It continues to be a really simple but extremely powerful use case that can save you tons of time in your design workflows.
You can use content generation for a number of use cases:
Coming up with feature or product naming
Writing or rewriting product microcopy
Writing or rewriting website content
Writing survey or research questions

There is a variety of LLM-powered chatbots you can try using for content generation, including ChatGPT by OpenAI, Claude by Anthropic, Gemini by Google, Copilot by Microsoft, or the newer Deepseek.
For most people, I’d recommend starting with ChatGPT, but feel free to play around with different models by giving them the same prompt and comparing your results.
How to prompt effectively
There are many resources about optimizing prompts, but if I were to summarize all my recommendations, it would be the following:
Give the model a role — “You are a UX writer”
Set the context — “We are trying to…”
Outline the goal — “Please provide…”
Set the detailed instructions — “Make sure the tone of voice…”
Set the expected format — “Provide the results in a table…”
Provide an example, if you have one — “Use this reference point…”
Example use case: You are introducing a new gamification feature in your mobile app that features a leveling mechanism, think Duolingo. Ask the AI model to give you a few ideas on how you can name your different levels.
In this example, I provided the context and asked ChatGPT and Claude to come up with a level naming system, including a few variations.


Example use case: You are introducing a new onboarding flow in your product. Attach the new full flow in an image and ask it to rewrite the content to better match your brand’s tone of voice, make it snappier and more concise.


Tip: Ask for variations, many of them. It’s a great way to start wide as you are exploring options, and then refine as you are finding styles that you like. You can always follow-up and ask the model to refine a specific style. “I really like this option, could you refine it by doing X….”
Tip: Content generation works really well when you give clear examples and guidance. The more you feed the chat, the more it will learn and adapt to your preferred style. You can website links, PDF documents, or plain text, and ask ChatGPT to mimic a certain style.
Verdict: Extremely powerful 👏
Skill to learn: Writing through prompts, giving context and reference content.
Photo generation
(Method: Generating)
One of the funnest ways to incorporate generation in your workflows is by using image generation tools.
This is one of my favorites, and, in my opinion, very underutilized workflows in the product design world.
I recommend image generation for a number of use cases:
You are testing out different styles of photography for a website.
You are testing out different styles of illustration for a product.
You are putting together a moodboard for working with a specialist.
You don’t have budget for photography/illustration, and need to create assets yourself as part of a small product team or startup.
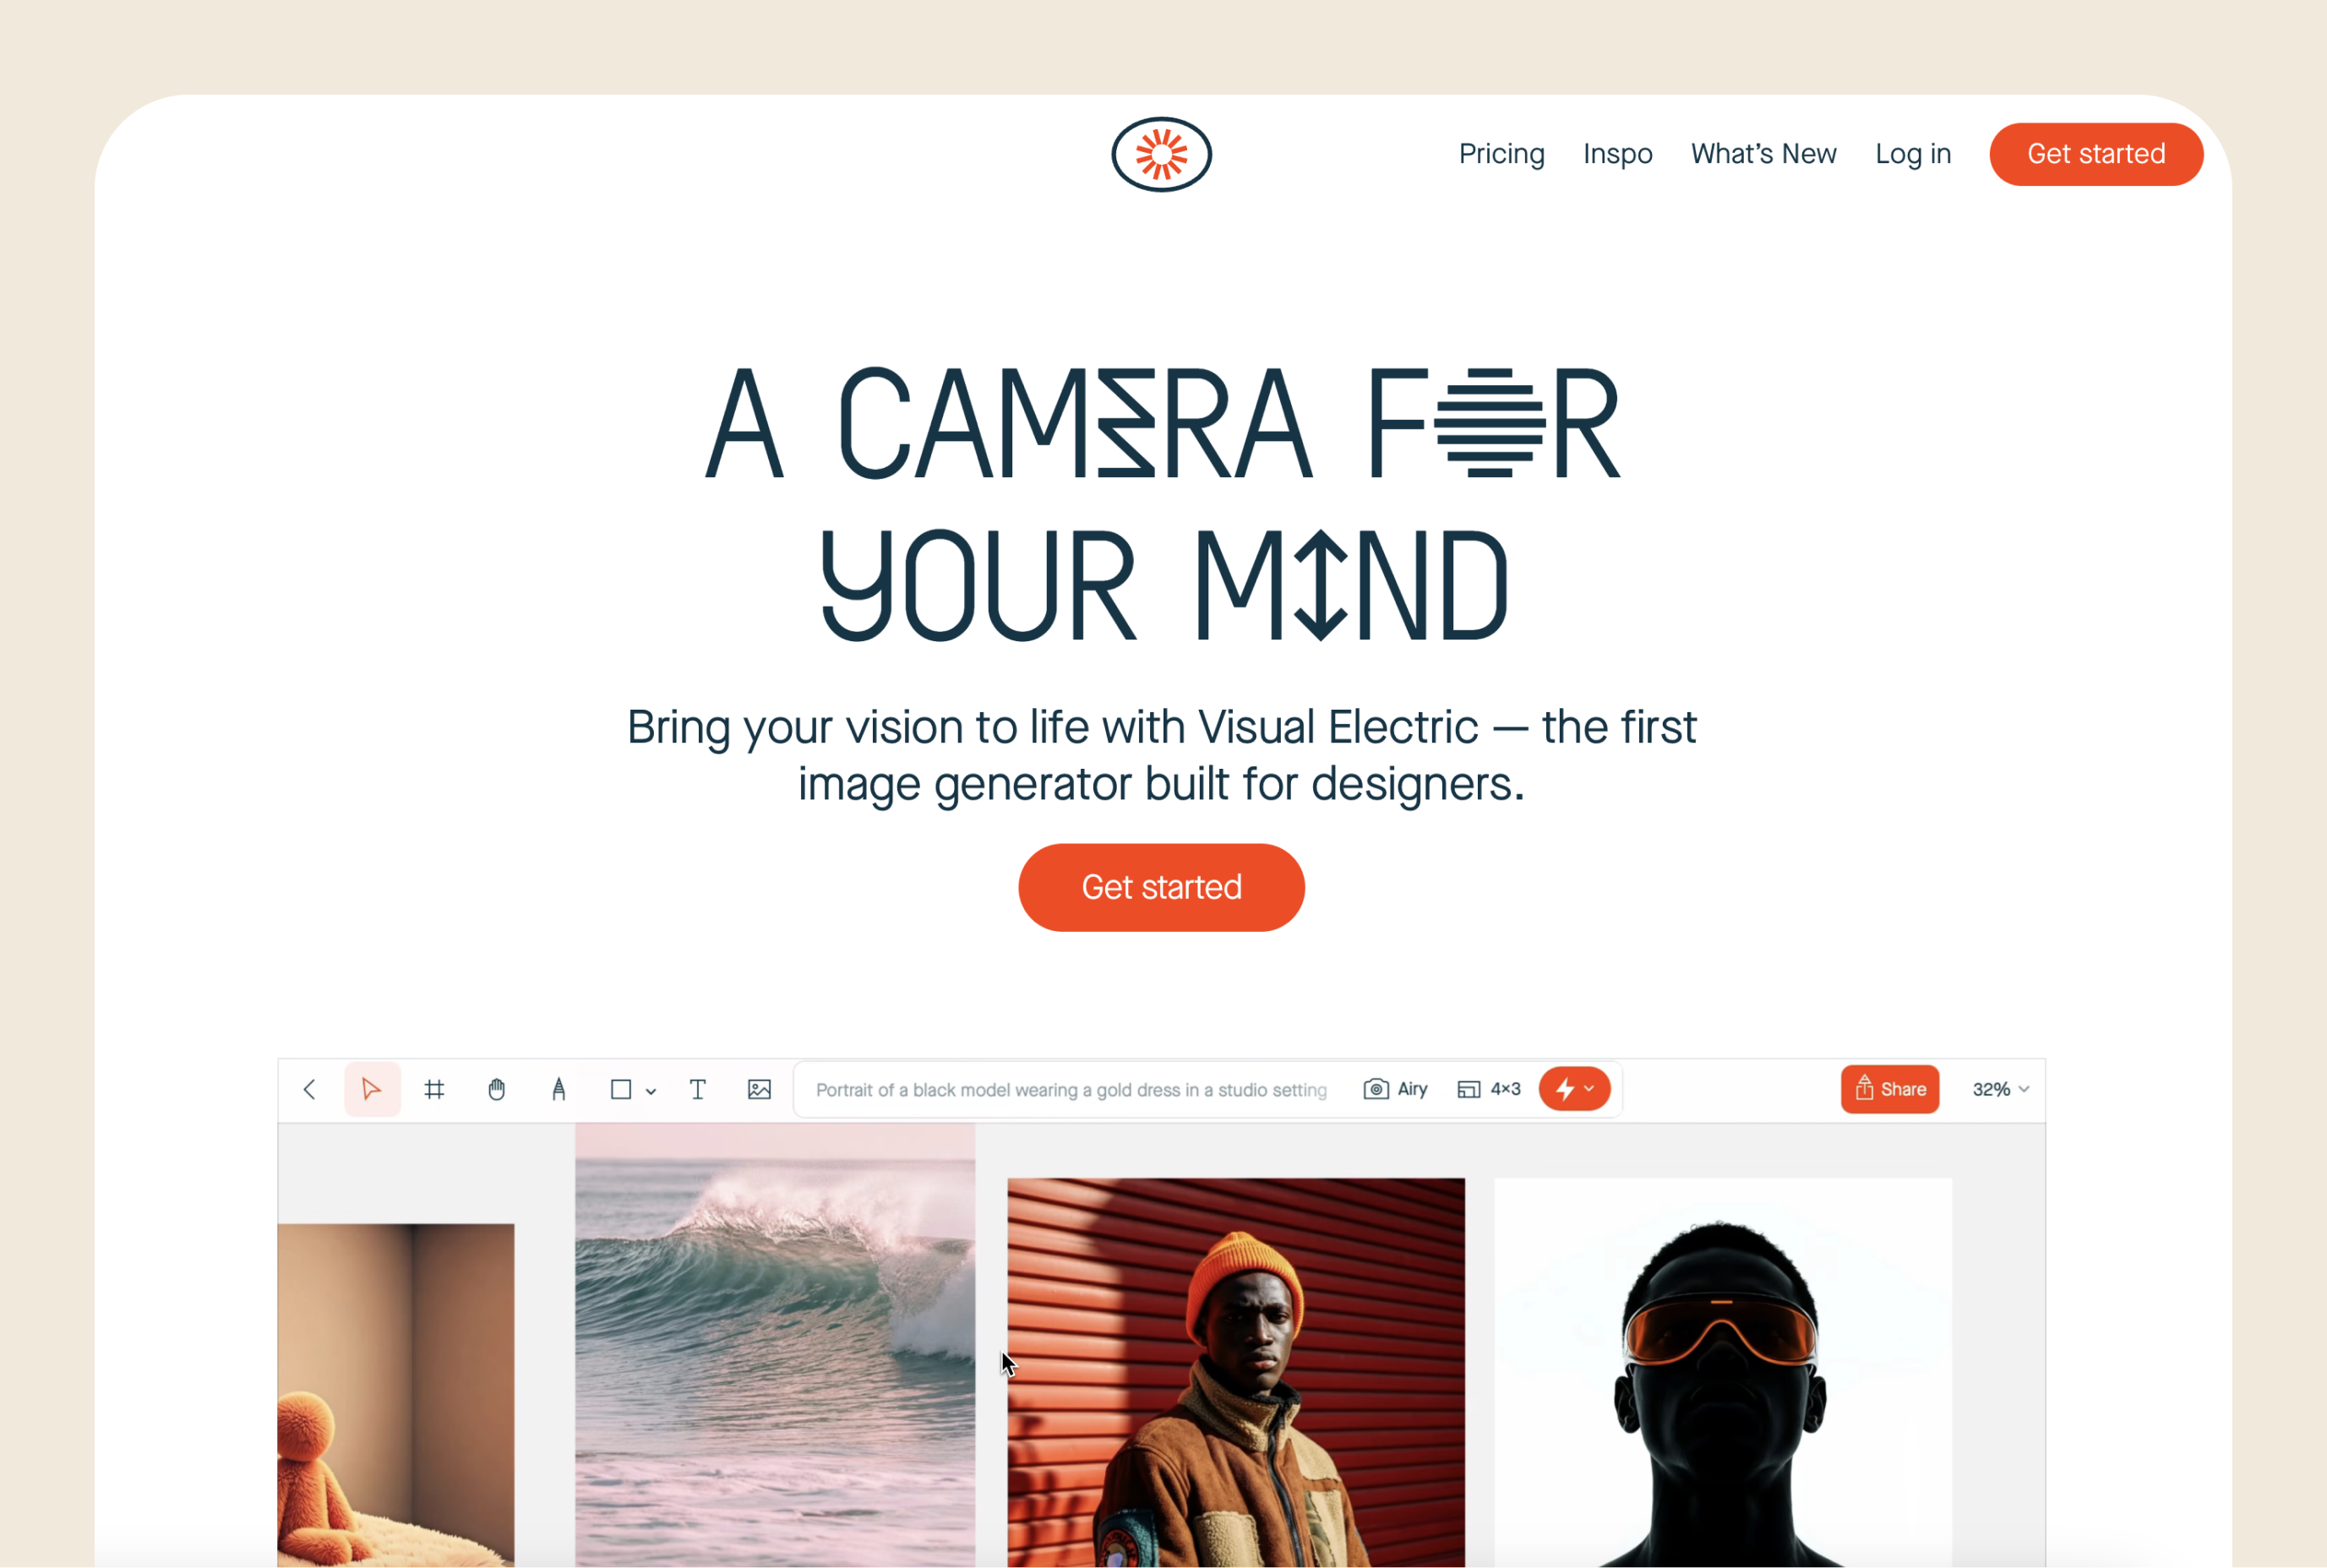
I’ve been using Midjourney since the early days, but my recommendation at this point in time is Visual Electric, as it feels much more familiar to other design tools, and it offers a canvas which allows you to generate a collection of images and group them together. You can create and save styles, edit and remix images, all in an interface that feels very familiar to design tools.
Example use case: You are designing a new website or product in the fitness category. You are trying to find the right image style so that you can then start investing in custom content, stock photography or even a branded photoshoot.
In this example, I started with this prompt:
🤖 Studio photo of a woman, wearing lavender colored leggings and a fitness tracker, using colorful resistance bands.

Once I was happy with the result, I created a style to make sure that all my photos would look quite similar.

I then started using different prompts to generate different angles, poses and compositions.
🤖 Studio photo of a woman, wearing lavender colored leggings, checking her fitness tracker after exercising. The photo should focus on the fitness tracker.
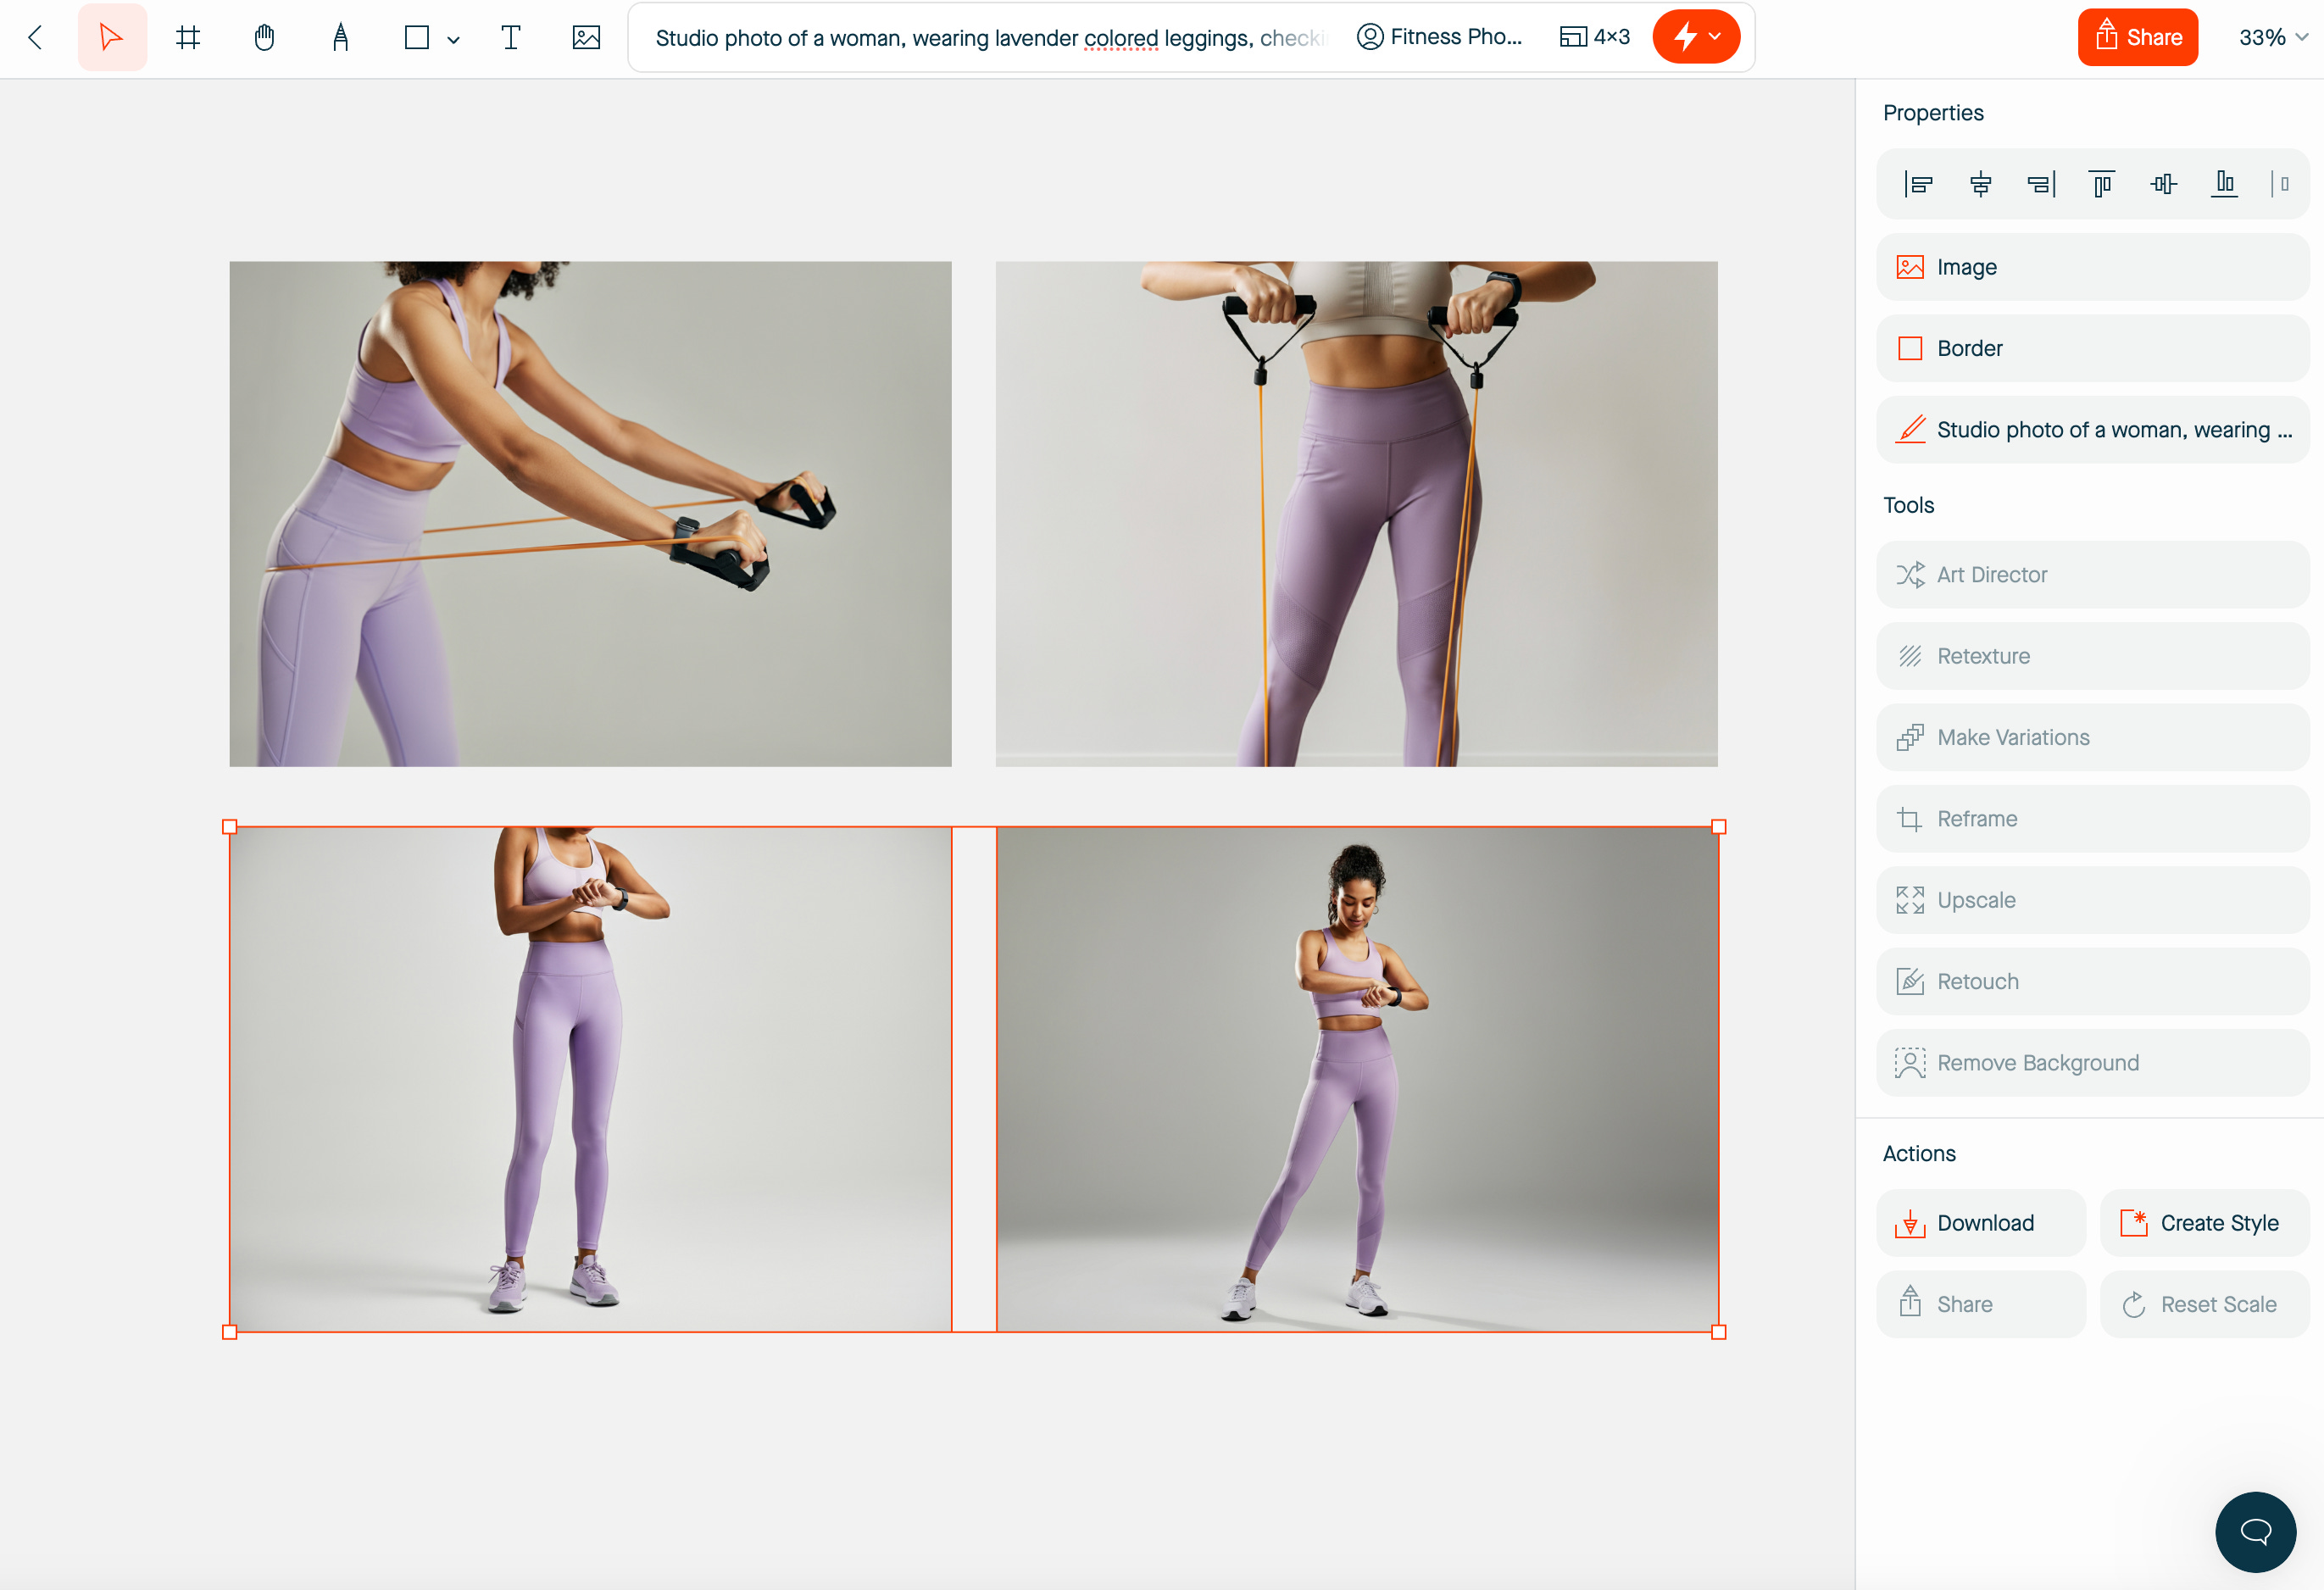
The result was highly accurate, and by using a combination of variations, remixing and editing these photos I was able to achieve the style I was going for.
Illustration (2D/3D) generation
I’ve always been fascinated by the idea of generating illustrations, mostly because it’s an art that I’ve always had massive respect for and never got to become good at.
A wonderful tool I’ve found myself using again and again for illustration is Lummi. Unlike generating content from scratch, Lummi follows an interesting approach: it features content from AI artists, and allows you to edit or remix that content using prompts.
I’ve loved using Lummi to find illustration styles — both 2D and 3D — and then generate imagery to use in products I’m designing.

Example use case: You are designing a product that requires a lot of custom illustrated assets. You don’t have the budget for an illustrator and aren’t skilled in illustration yourself.
In this example, I’ll try creating 3D imagery for a fintech app. Let’s assume we are trying to create a futuristic style for all of a user’s spending categories; things like groceries, household, insurance, entertainment, and so on. To match the brand aesthetic, I don’t want to resort to using an icon pack, so I’ll try generate some 3D assets for each category.
I started by browsing the 3D page and looking for a style that I liked. I loved this particular glossy abstract style by Shiho, so I tried to use that as a reference.
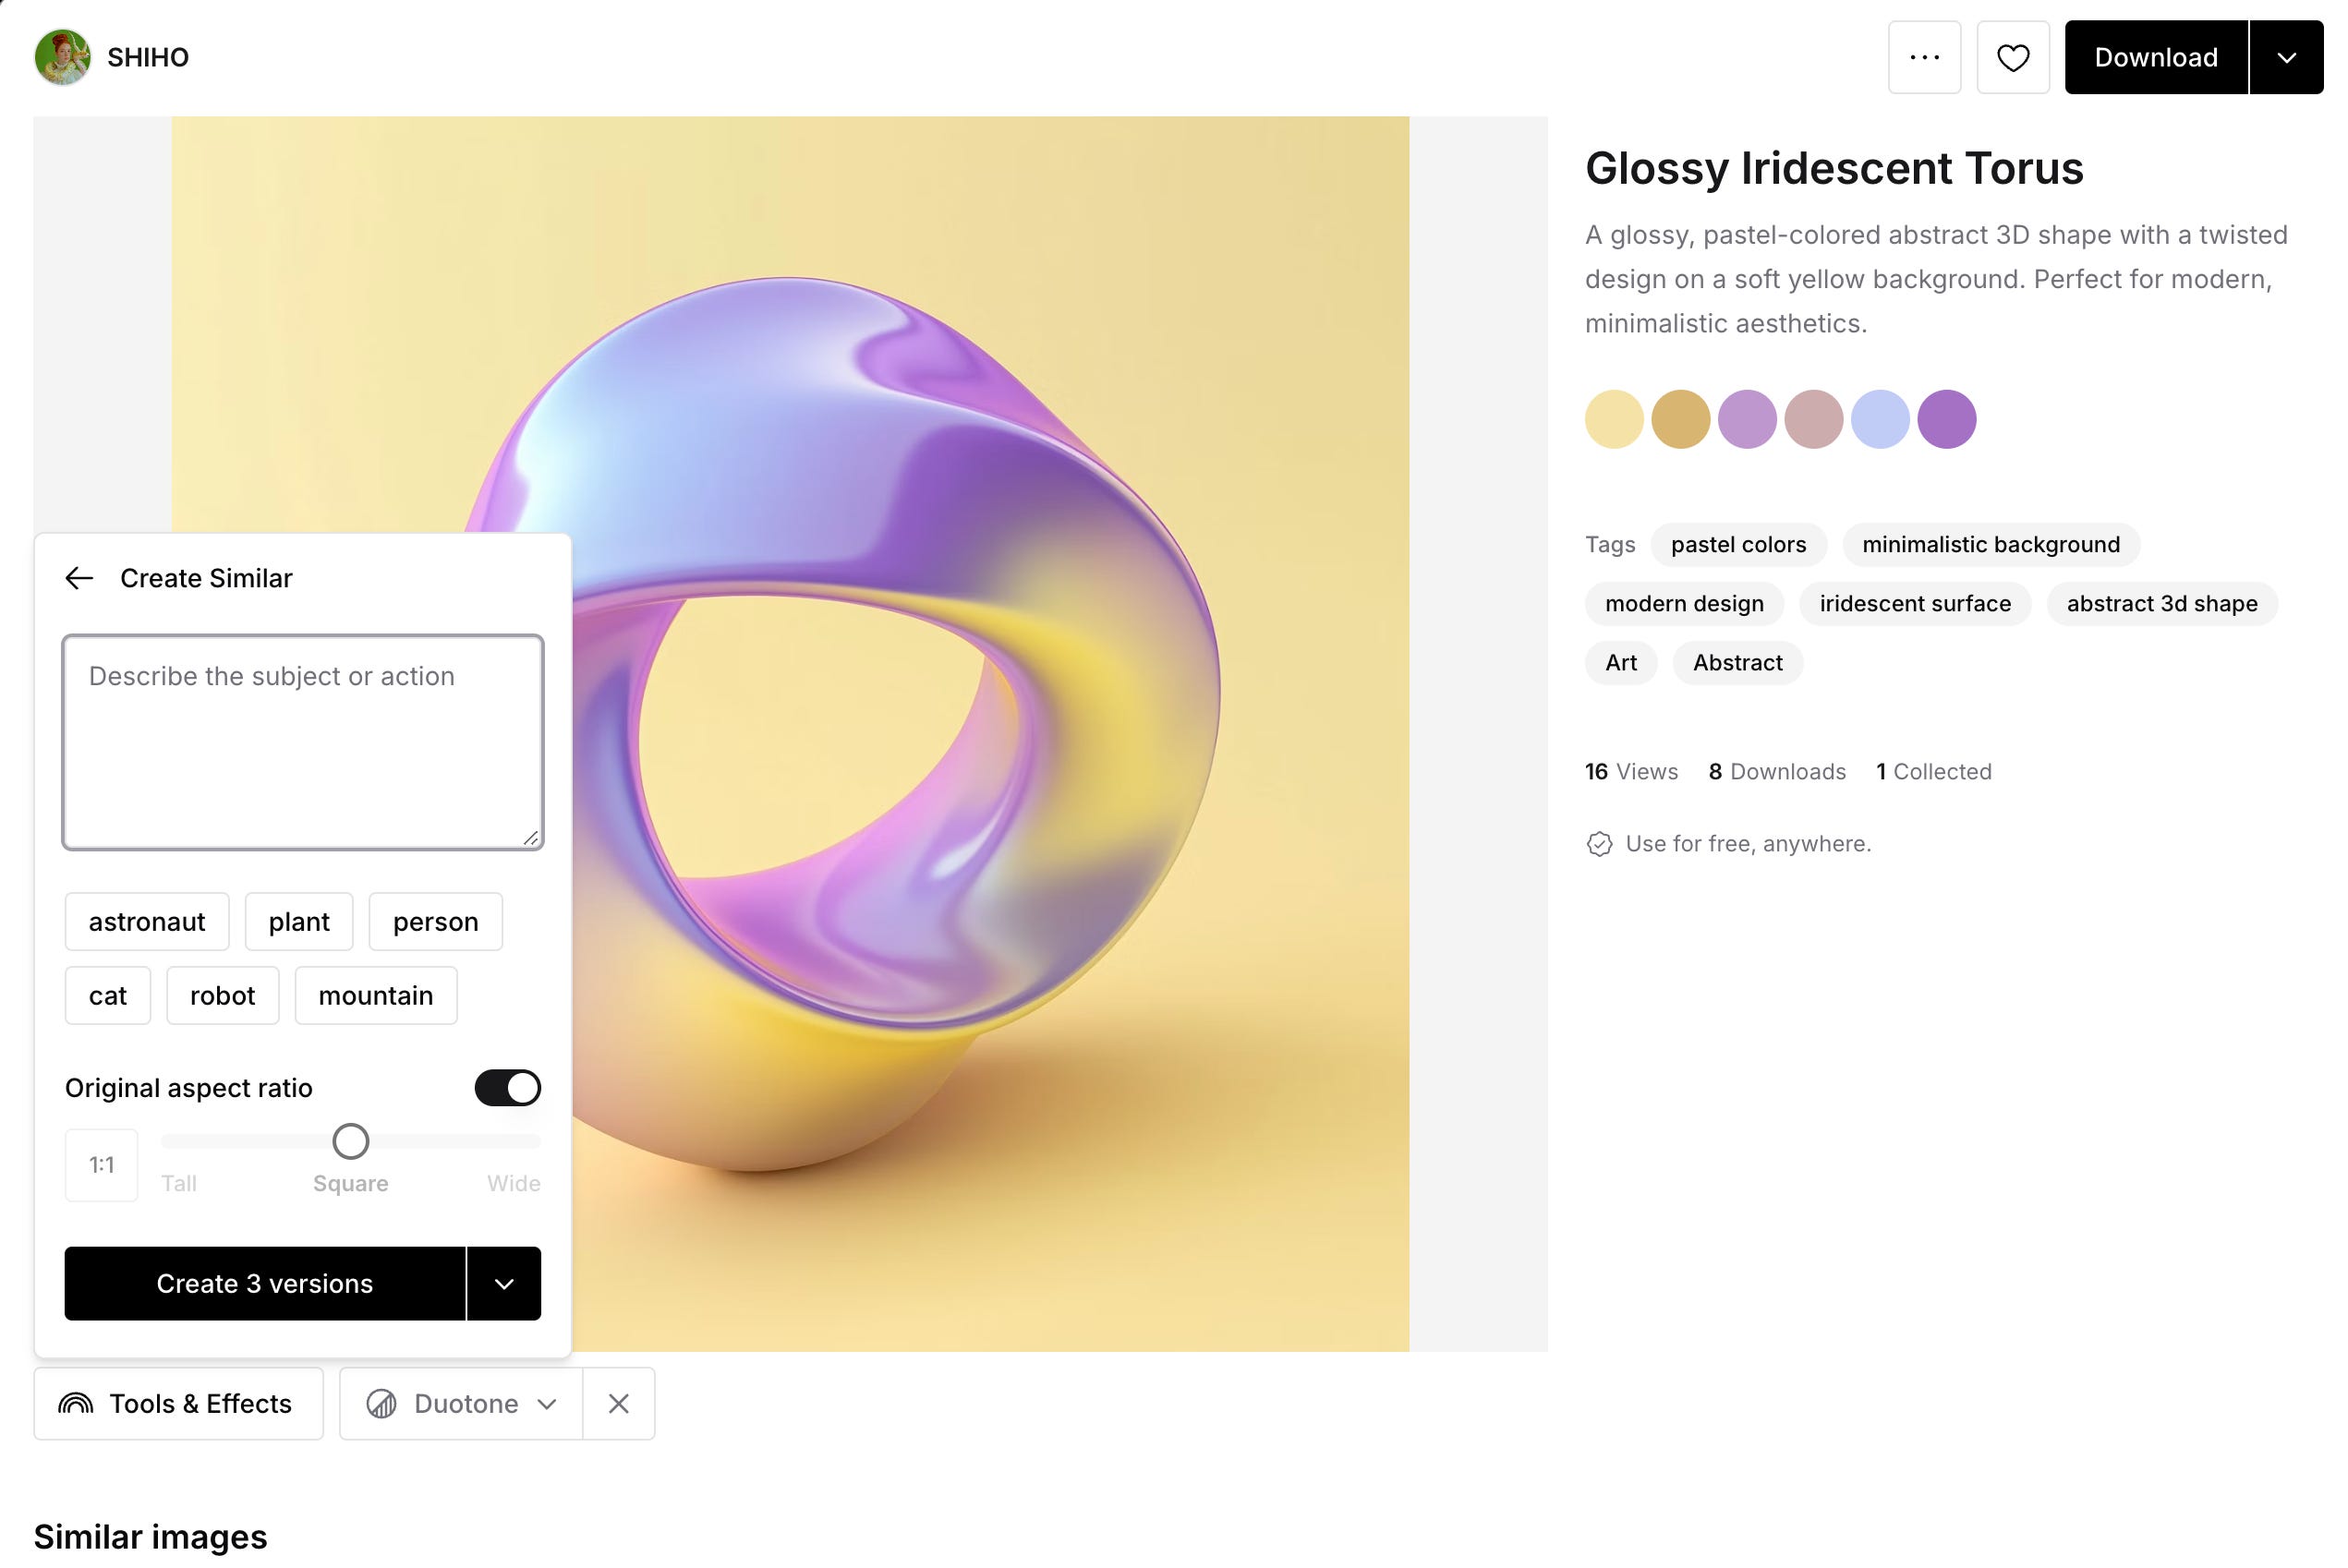
I used the Create Similar function and described what I wanted to create, in this case a carrot to be used for the groceries category.

What’s also great about Lummi is that you can easily remove a background, which is something I’ve found quite finicky with other tools like Midjourney or DALL-E.
Overall, image generation can be extremely powerful and save tons of time in either moodboarding/testing or even creating production-ready assets for your websites and products.
Verdict: Extremely powerful 👏
Skill to learn: Generating through prompts, editing and remixing through prompts.
Hope you enjoyed this post and are already tinkering with some of the above workflows! In the next post in this series, we’ll explore using AI models to enhance our research workflows, including desk research as well as analyzing qualitative/quantitative research. Stay tuned.
Very practical! Can’t wait for the next ones :) Thank you!
This is super insightful and remarkable. I am really looking forward to future parts.
Thanks for sharing this.